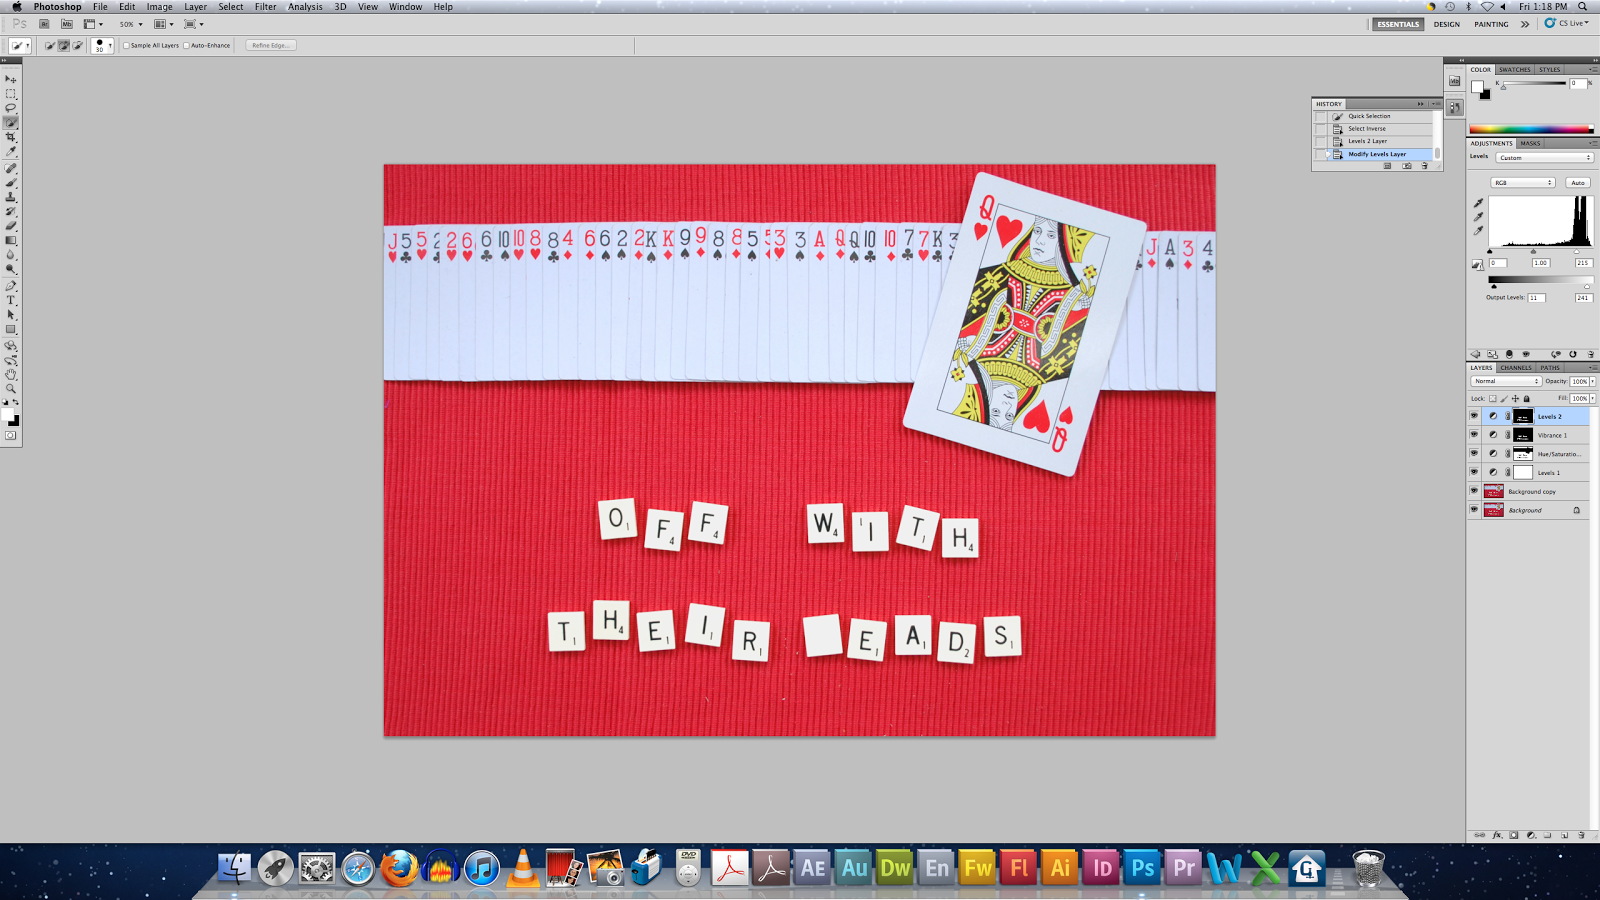
Using photograph taken in fourth round of my photography for Alice Theme:
Open chosen image in Photoshop:
Duplicate Layer:

Create Adjustment Layer Levels:


Crop View:


Select Background:

Create Adjustment Layer Hue and Saturation:

Select all but scrabble tiles:

Select, Inverse:


Create Adjustment Layer Levels:

Select scrabble tiles:

Create Adjustment Layer Vibrance:


Create Adjustment Layer Levels for entire view:

Rotate the letter I scrabble tile:

Free Transform, Rotate 90 degrees:


Select H letter:

Copy and Paste:

Move:

Free Transform:


Select Queen Card:

Refine Selection using Quick Selection Tool:

Create Ajustment Layer Levels:

Select other cards:

Create Ajustment Layer Vibrance:

Open Image to use for Angry Queens face (from Penguin Books Novel):

Duplicate Layer:

Create Ajustment Layer Levels:

Make Selection:

Select Queens face in file:

Edit, Paste Special, Paste Into:


Move:

Resize: (looks awful so I decided to scrap that idea instead of playing around with it)

Undo Commands:

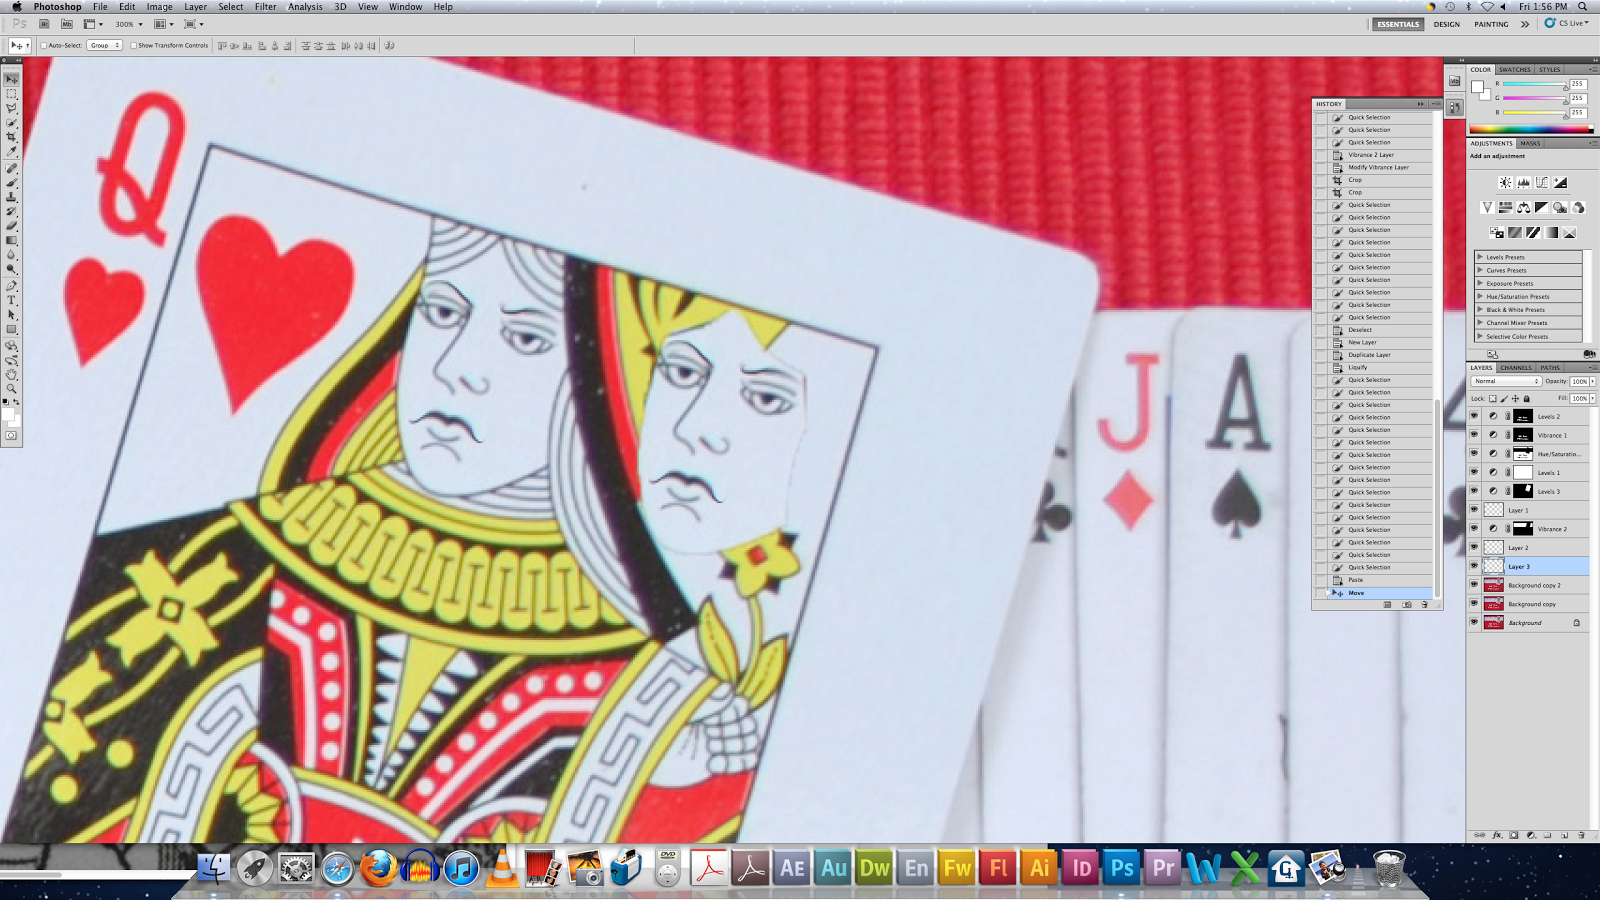
Select Face:

Filter, Liquify:

Liquify opens a new window:

Using Penguin Book novel angry queen as a reference:

Using Liquify tool, edited her face to make her look angry:

Select face:

Copy and Paste:
Move:

Free Transform:


Duplicate Background:

Convert copy to Smart Object:

Filter, Sharpen, Smart Sharpen:


I'm happier with the result of this photograph to that of the last round of editing! The big Queen card makes the Queen stand out more as the focus of the image. And you wouldn't notice her angry face unless you really looked at it, but I know it's there. This needs more worh, with the clone tool particularly because of the dust spots on the mat from the shoot. The cards look a lot better in a straight line and the big card is a quirky feature.
No comments:
Post a Comment