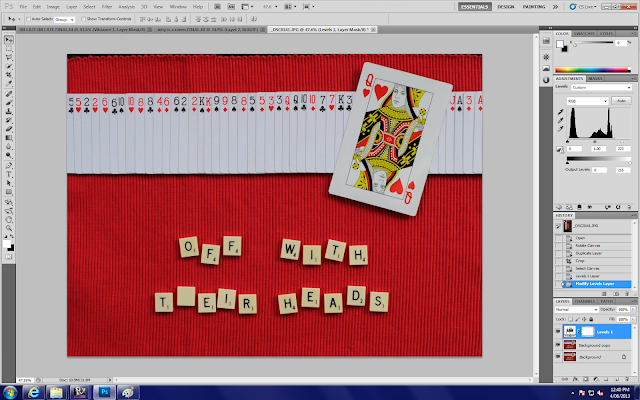
Using photograph taken in sixth round of my photography for Alice Theme:
Open chosen image in Photoshop:
Duplicate Background Layer:
Crop View:
Levels Adjustment Layer:

Select cards:
Hue and Saturation Adjustment Layer: to remove blue tinge from cards
Select BIG card:
Levels Adjustment Layer:
Select scrabble tiles:
Hue and Saturation Adjustment Layer:
Copy and Paste the missing letter H:
Free transform and rotate:
Looking at previous edits:
Select face:
Let's be honest, colour didn't match and it would take more work to adjust these then to have some fun and mess around with her face again...
Filter, liquify:
Liquify Screen comes up:
Compare to previous edits: manipulate her face
Select the background:
Levels Adjustment Layer:
Adjusting Hue and Saturation Adjustment Layer again: ahh the beauty of adjustment layers.... you can go back and edit them whenever, SO COOL!
Editing Levels Adjustment Layer:
Select Scrabble tiles:
Levels Adjustment Layer:
Clone tool to remove the place mat edges of the image: instead of croopping use this to keep the size of the image the same but remove the edges:
Copy and Paste the ANGRY QUEEN:
Free Transform and Rotate:
Duplicate Background Layer:
Convert to Smart Filter:
Filter, Sharpen, Smart Sharpen
Even though I like the background colour in my previous edit to this photograph, I prefer all other aspects of this photograph more! The depth of field is greater, it isn't out of focus, there's not dust flakes all over the placemat from the windy conditions and the shadows are much stronger. I love the quirkness of the big card, mum's a champ for remebering she had them! I think the angry queens face is a fun way to represent the Queen of Hearts, and if you don't look closely, you wouldn't even notice!!


No comments:
Post a Comment