Using photograph taken in sixth round of my photography for Alice Theme:


Duplicate layer:

Crop view:

Crop again:


Select all:

Levels Adjustment Layer:


Select Fur (around stopwatch and scrabble):

Hue and Saturation Adjustment Layer:

Quirky colours, using previous edit as precedent:

Select stopwatch face:

Hue and Saturation Adjustment Layer:

Quirky colours, using previous edit as precedent:

Select stopwatch:

Filter, Sharpen, Smart Sharpen:

OOOPS I had the mask layer selected not the background layer:


Duplicate layer first, then convert to Smart Filter:

Filter, Sharpen, Smart Sharpen:


Insert chosen image to use for stopwatch reflection:

Free transform:

Select and Copy part of the background layer to place over the top:

Transform and Skew the rabbit image to suit the clock face and angle wanted: user eraser on background copy to have outline of clock around image

Place transparent copy of background over top of rabbit image to create the effect of a reflection:

Adjust layers:

Duplicate layer, convert to smart filter:

Filter, Sharpen, Smart Sharpen (AGAIN because I changed the base image)


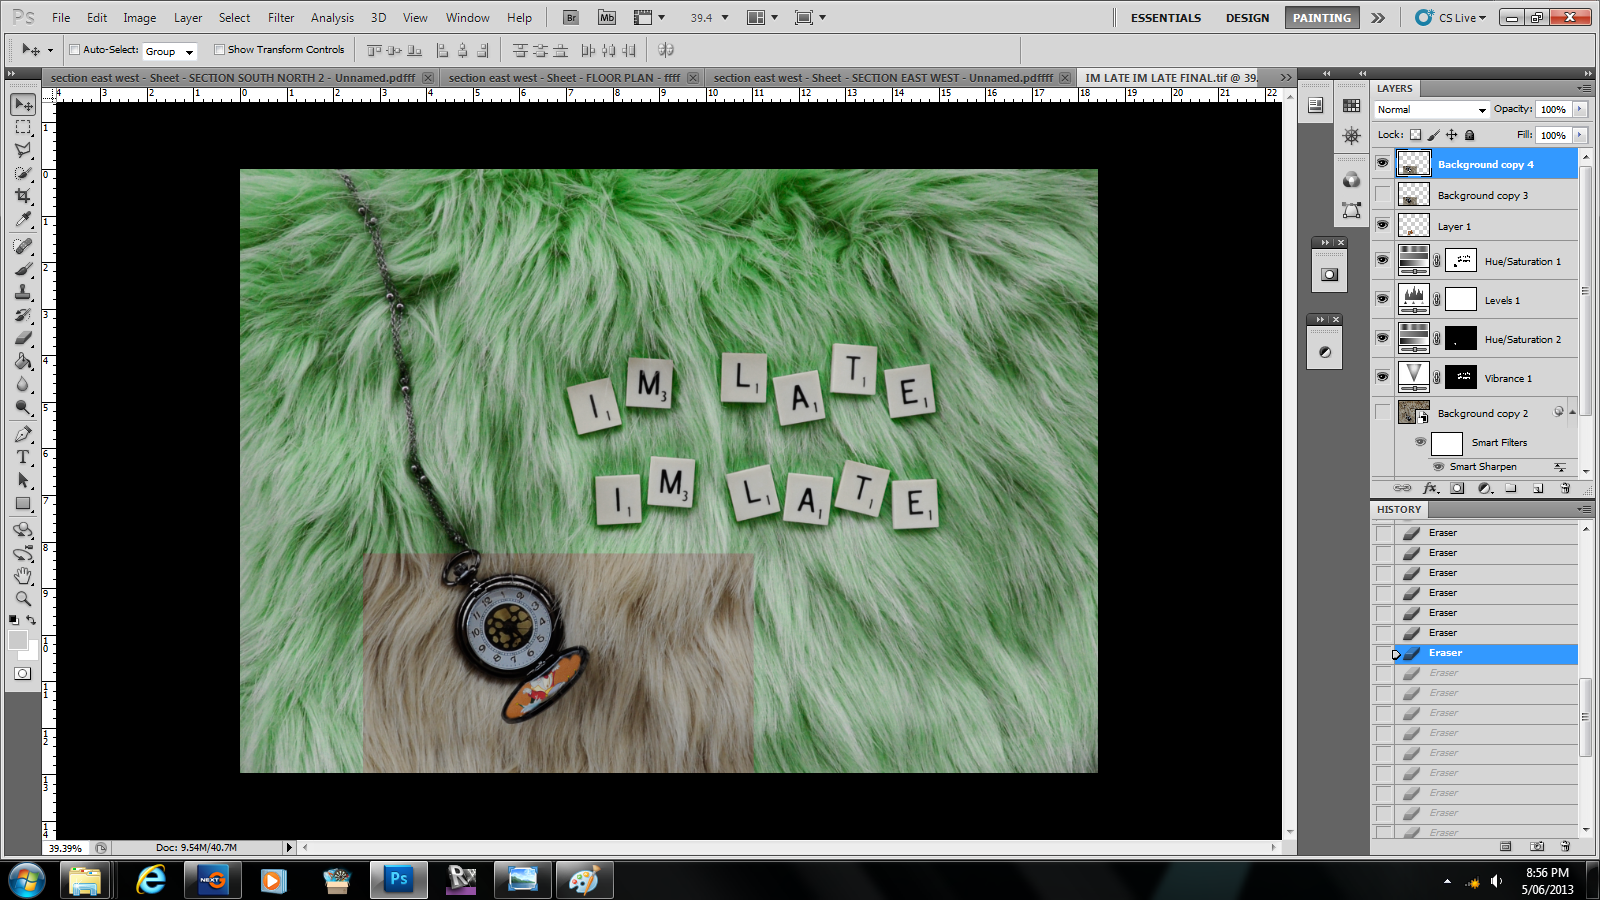
I like the contrasting colours in this image! The texture of the fur is really intriguing and I think it represents the fur of the watch wearer (rabbit) really well! The green is a bit wacky, but really what isnt wacky in Wonderland! The reflection is a little hard to achieve because of the angle, and it's not my favourite part, but I think it still fulfils the quirky aspect of this image.
No comments:
Post a Comment