Adjustment Layers and Masks continued...
- Vignette using an Adjustment Layer mask
- Creating masks from selections
- Smart Objects
- Colour Range masking
Vgnette using an Adjustment Layer Mask:
- Elliptical marquee tool
- Paint bucket tool
- Switch black + white foreground/background
- Paint in mask rather than brush
- Make sure mask is active
- Paint bucket black
- Adjust levels
- Use masks tab: feather tool
Using 136229770.jpg:

Open file in Photoshop:

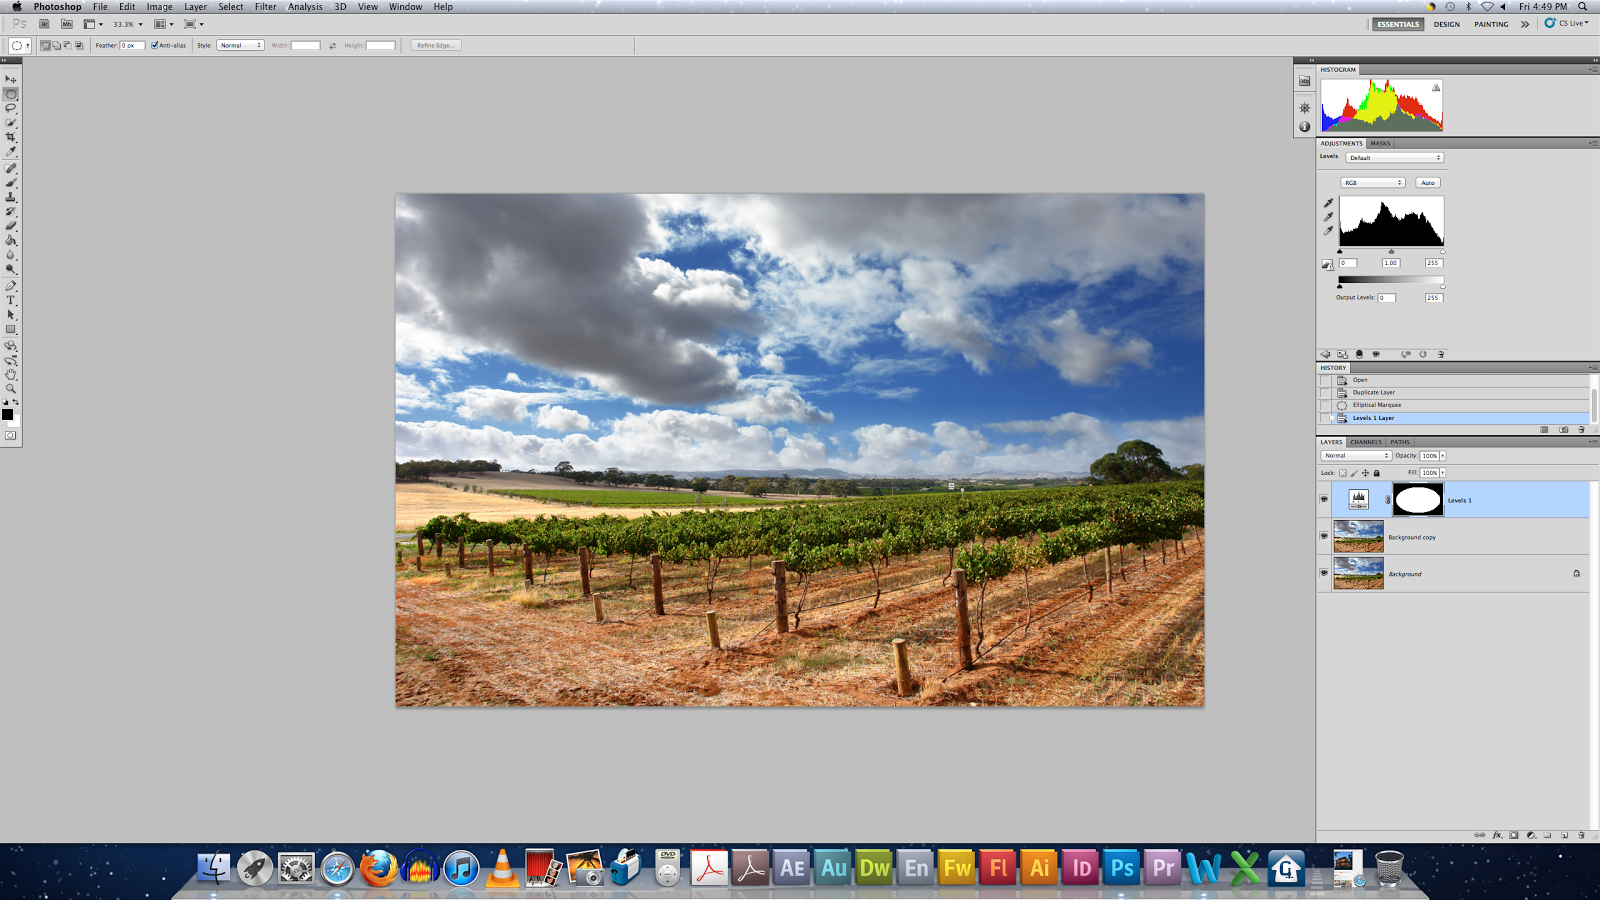
Make adjustment layer levels:

Adjust levels:

Use Elliptical Tool:

Delete Selection:

Adjust Levels as required:

Use Mask layers to feather edges:


This technique is another way to create a vignette, but using adjustment layers.
Creating Masks from Selections
- Make a new layer copy
- Quick selection tool
- Hold option key to deselect bits you don’t want captured
- Use refine edge tool
- Can invert buy using masks
- Hold option key + click on mask icon in layers panel
- Mask edge button to mask changes
Using 118976549.jpg:

Open file in Photoshop:

Duplicate layer:

Select sky:

Make adjustment layer levels:

Adjust layers:

Mask layers (inverse):

Mask Layers Refine Edge:


I found this technique really cool! The darker clouds look awesome on the image, and create a completely new image!
Smart Objects:
Using the same image:
Filter, render, lens flare:


Move to where you want it:

Convert to smart object:

Filter, render, lens flare:


Change Blend Modes:


Blend modes are applied to smart filter not whole layer, by changing blend mode on individual layer:


The use of Smart objects and Smart filters will definitely come in handy when I have to edit my own photographs.
‘Working Smarter’ Exercise:

- Pick image
- Vignette in adjust layer
- Create mask using magic wand
- Convert to smart object
- Make filter enhancement + change blend
Using 140453123.jpg:

Open image in Photoshop:

Duplicate layer:

Ellitical Tool:

Create Adjustment Layer Levels:

Adjust levels:

Silly me couldn't work out why mine was wrong and inside out (vignette dark should be on outside):

Mask Layer, inverse!!! to solve this problem:

Adjust Levels:

Mask Layer, Feather Edges:


Convert to Smart Object:


Filter, Render, Lens Flare:

Move into position:

Apply a blend mode:


Apply Blend Mode (only applied to that layer):


Doing these exercises twice was really useful! We got to do it on our own so we could make sure if we knew what we were doing! I like the vignette and lens flare on this image because it focuses on the winery and gives the image a 'quirky' touch with the lens flare.
Colour Range Masking:
Using colour to select
Using colour to select
Using rigging_before.jpg:
Open file in Photoshop:

For example: blues

Select colour range

Make sure black is foreground colour
Work in colour

Localized colour clusters

Fuzziness tool (accuracy)


Command, X, cut

Blue chaze around mast


Change output, ie. New layer or layer mask:


Of course Photoshop does the inverse to what you want in to do!

Select, Inverse:

Repeat as above:


I think this technique is AWESOME! Such a handy and useful tool to use! I know my final image isn't perfect and there is still a blue haze around the ropes, but I'm sure with further editing the tool would be really useful!
No comments:
Post a Comment